
Valorant External
Installation Guide
Always disable Windows Defender and any anticheat software before running the loader.
Follow every step in order. Skipping the Defender or runtime steps is the main reason the loader fails to open.
- 1
Step 1: Disable Windows Defender
Turn off Windows Defender manually or with dControl before setup.
- 1.Select Start and type Windows Security
- 2.Open Virus & threat protection → Manage settings
- 3.Switch Real-time protection and Tamper protection to Off
- 4.Or: download dControl below, unzip it, run dControl.exe and click Disable Windows Defender
- 2
Step 2: Install Runtimes & Drivers
Install the Visual C++ and DirectX runtimes the loader needs, and update your graphics driver.
- 1.Install the Visual C++ Redistributable and restart your PC
- 2.Install DirectX and uncheck "Install the Bing Bar"
- 3.Update your NVIDIA or AMD graphics driver
- 3
Step 3: Disable Vulnerable Driver Blocklist
Open CMD as Administrator and paste this command, then restart your PC after it says completed:
reg add "HKLM\SYSTEM\CurrentControlSet\Control\CI\Config" /v VulnerableDriverBlocklistEnable /t REG_DWORD /d 0 /f
- 4
Step 4: Inject
- 1.Download the loader from the top of this page and run it as Administrator
- 2.Select "Register"
- 3.Enter your details and select "Register" once more
- 4.Log in with your new account
- 5.Select "Redeem Key" and enter your license
- 6.Select "Load" and launch VALORANT immediately
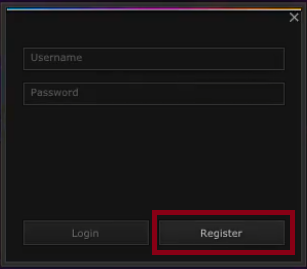
1. Select "Register" 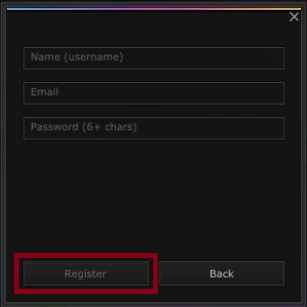
2. Enter your details and select "Register" again 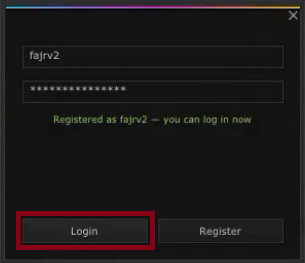
3. Log in 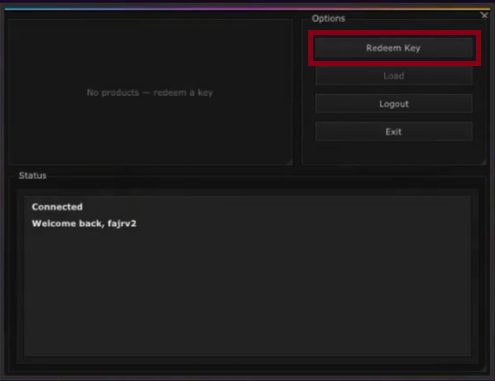
4. Select "Redeem Key" and enter your license 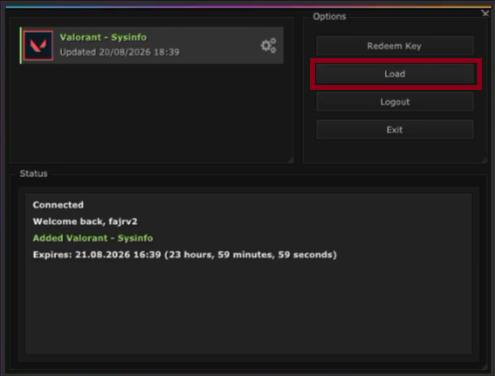
5. Select "Load" and launch VALORANT 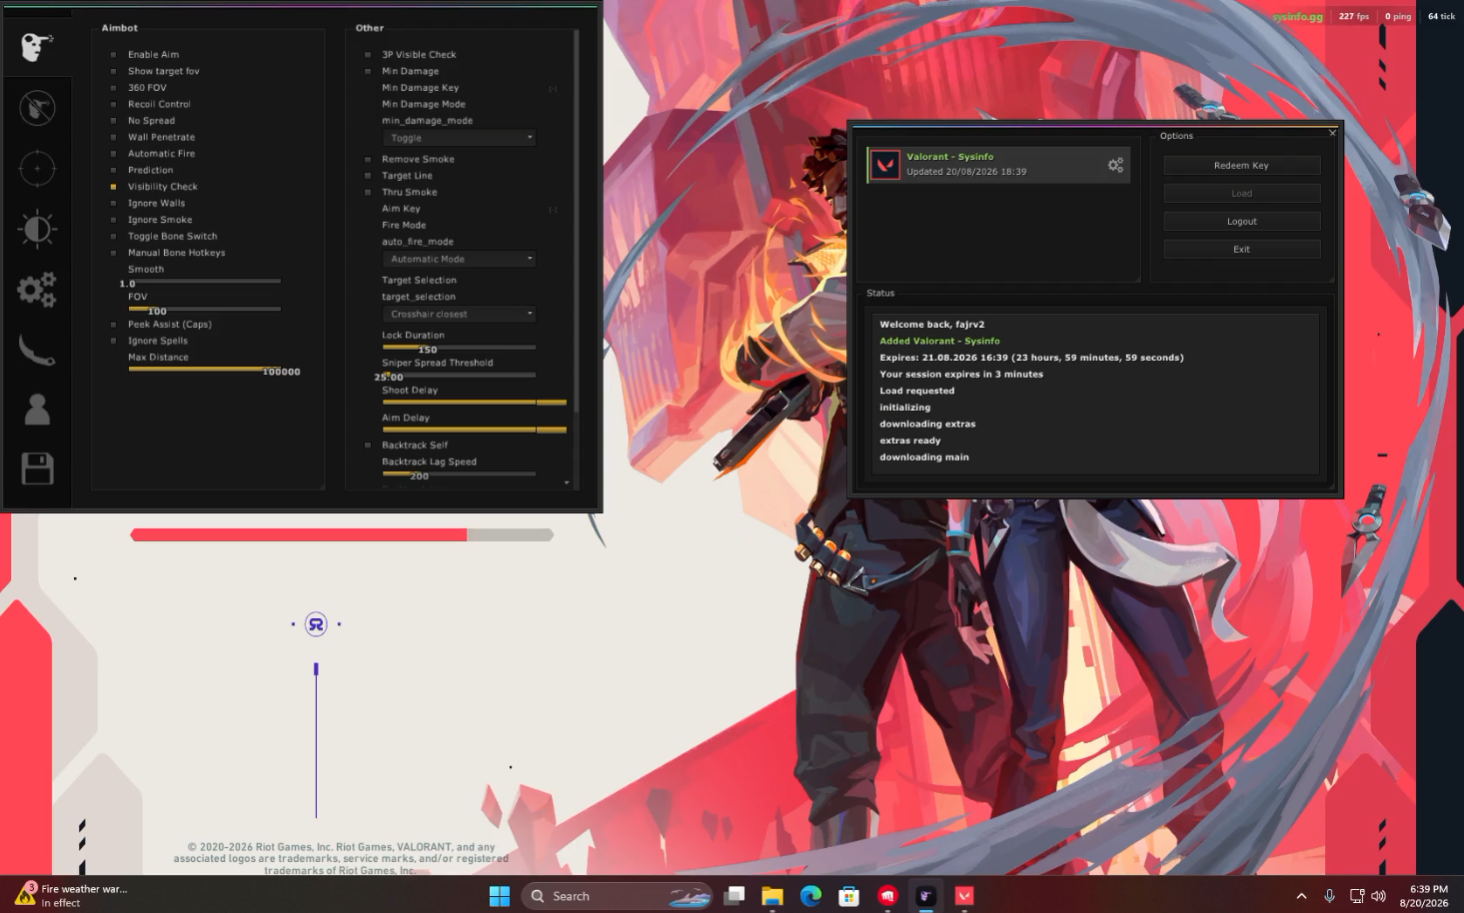
6. Loaded in game
Common Fixes
Menu won't open - press the Insert key
The menu opens and closes with the Insert key on your keyboard. Press it once the software is loaded in game.
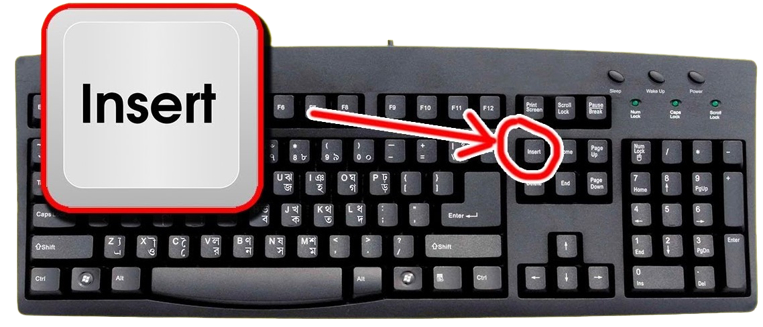
1. The Insert key on a standard keyboard No Insert key? Use the on-screen keyboard
Some laptops and compact keyboards have no Insert key. Use the Windows on-screen keyboard instead:
- 1.Press Win + R, type "osk" and hit Enter
- 2.Click the Insert key on the on-screen keyboard while in game
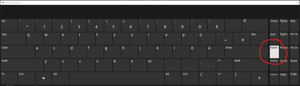
1. Click Insert on the on-screen keyboard Loader doesn't open - add the host file
If the loader does nothing when you open it, Windows is missing the host file it needs:
- 1.Download the host file from the MEGA link below
- 2.Press Win + R, type "drivers" and hit Enter
- 3.Open the "etc" folder
- 4.Paste the host file inside, then run the loader again
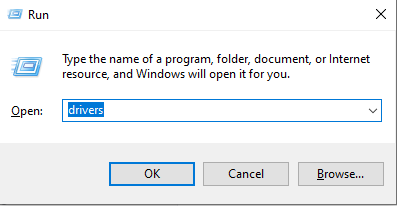
1. Win + R, then type "drivers" Loader crashing or not connecting - use Warp
If the loader crashes, hangs or can't reach the server, your network is likely blocking it. Cloudflare WARP fixes this:
- 1.Download and install WARP from https://1.1.1.1/
- 2.Open the system tray (arrow near the clock) and click the WARP icon
- 3.Toggle WARP on and wait until it says Connected
- 4.Run the loader again and repeat the inject step
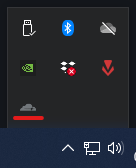
1. Open WARP from the system tray 
2. Wait until WARP says Connected Game crashing - check Core Isolation
Core Isolation and Memory Integrity stop games from crashing while the software is loaded:
- 1.Open the Windows Search bar
- 2.Type Core Isolation and open it from the results
- 3.In the Windows Security window, locate Memory Integrity
- 4.Turn Memory Integrity On
- 5.Restart your PC if Windows prompts you to
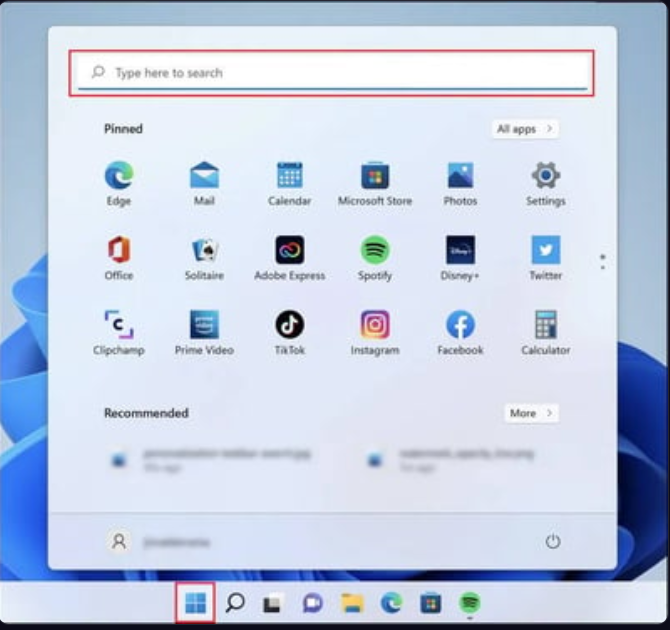
1. Search for Core Isolation 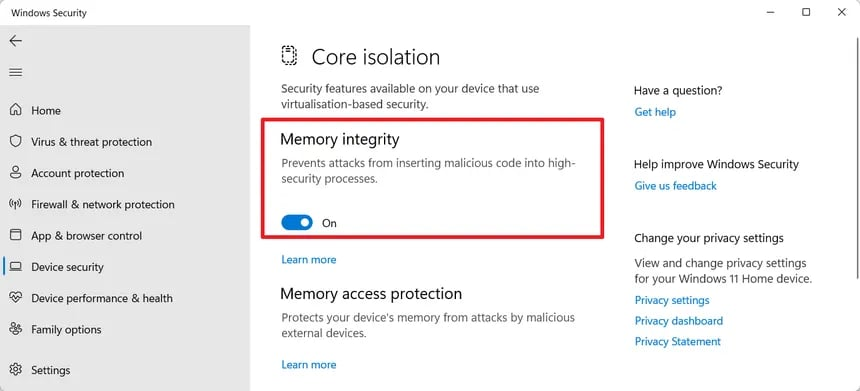
2. Turn Memory Integrity On Menu or visuals not centered - set scaling to 100%
Windows display scaling above 100% pushes the menu and visuals off-center:
- 1.Open Windows Settings
- 2.Go to System → Display
- 3.Under Scale and layout, set "Change the size of text, apps, and other items" to 100%
- 4.Set your game to Windowed Fullscreen / Borderless
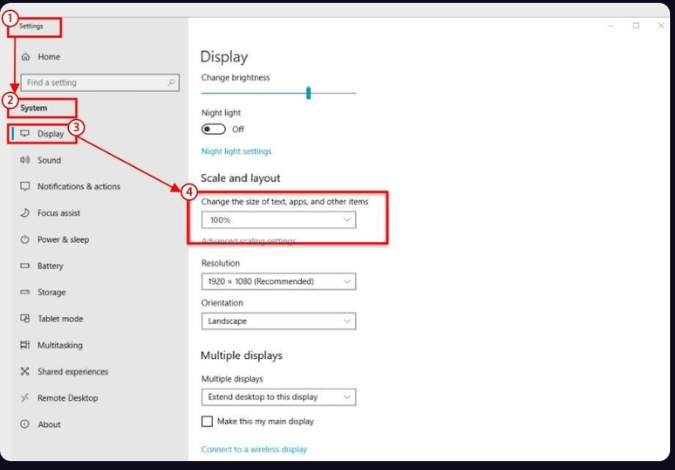
1. Set display scaling to 100%
Still stuck?
- •Still stuck? Open a ticket in Discord with a screenshot of the error.